Set Up Time Machine With macOS Monterey
Configuring Time Machine on Mac OS Monterey to use a USB drive that already has volumes (eg APFS volumes containing data) seems tricky. I had an external USB drive that already had an APFS volume containing Mac OS. I wanted to also use the drive as a Time Machine backup, but was unable to get Time Machine to recognize the drive as a backup location. This is what worked for me.
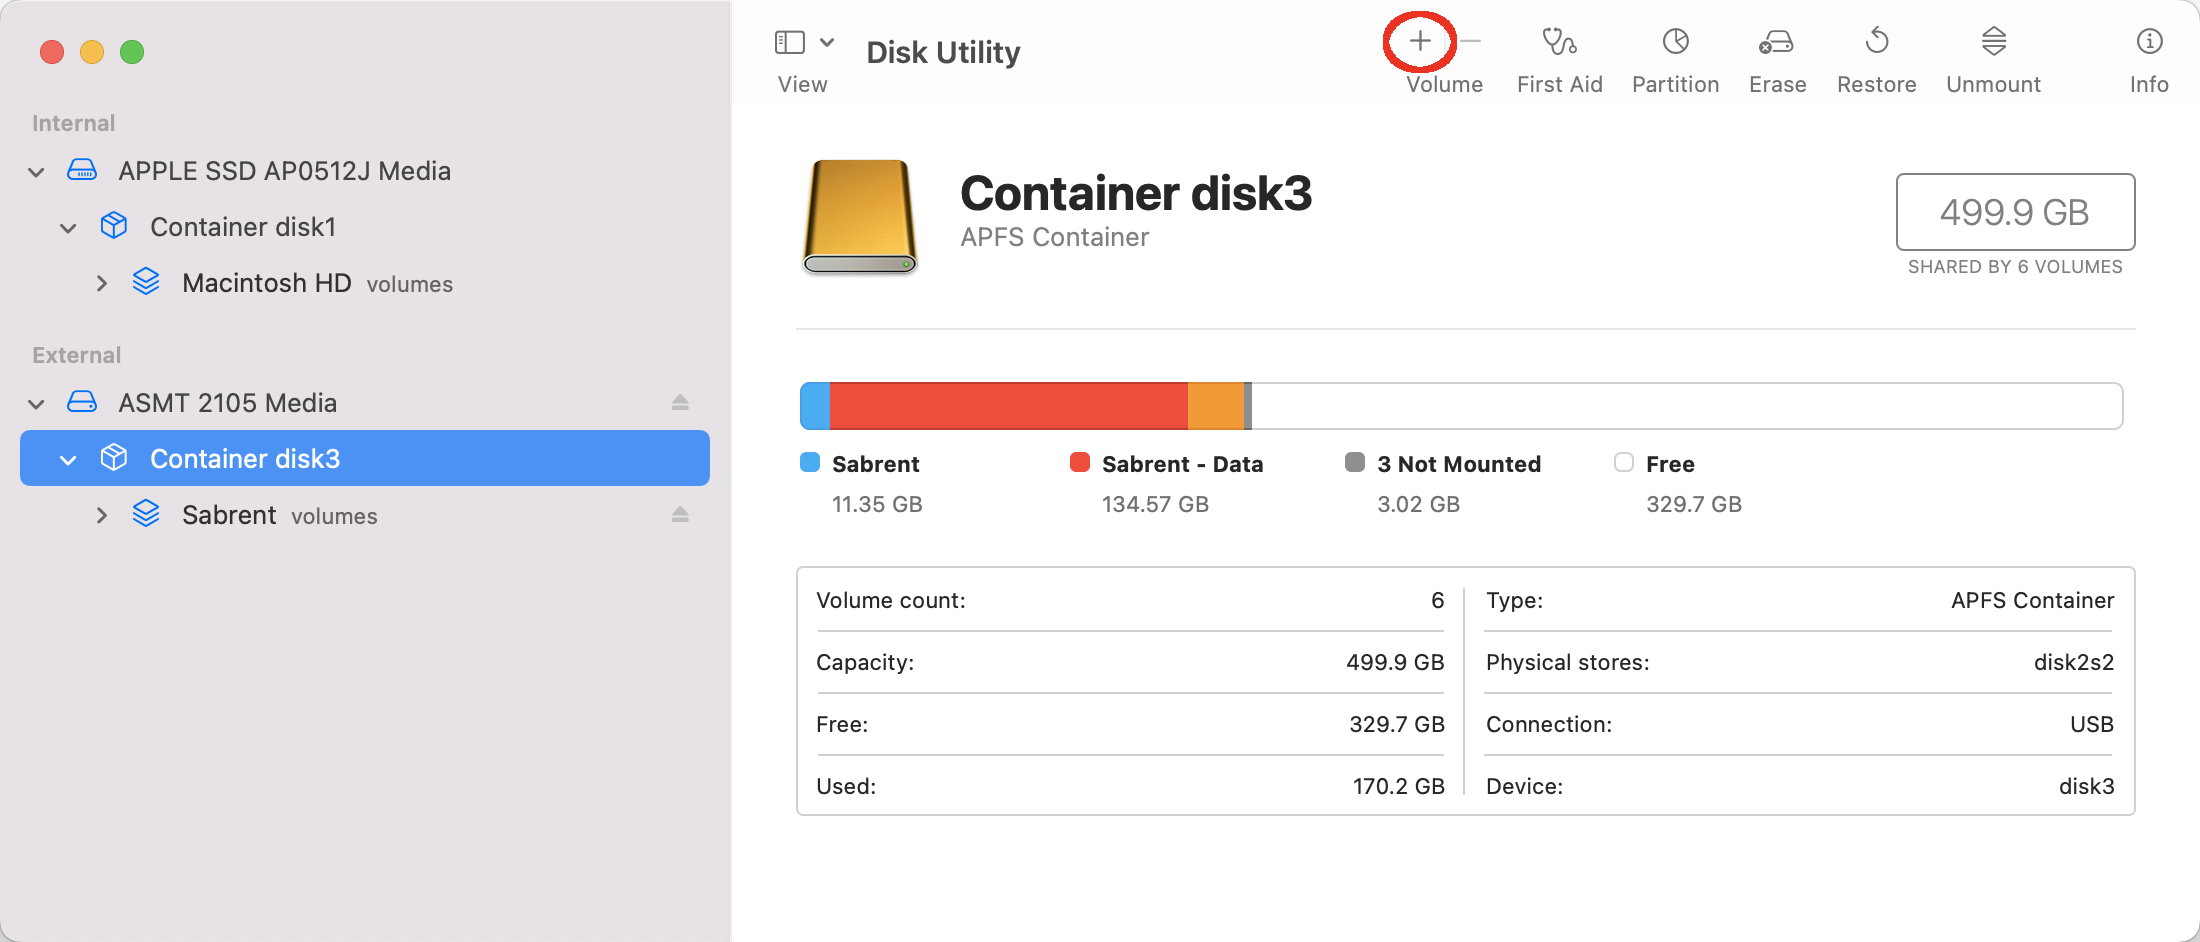
Create The New Volume
Time Machine needs to be on its own APFS volume, but it can be in the same container as other volumes already on the drive.
Launch Disk Utility (Applications > Utilities > Disk Utility) and select the existing container on the USB drive and then click the Add Volume icon:
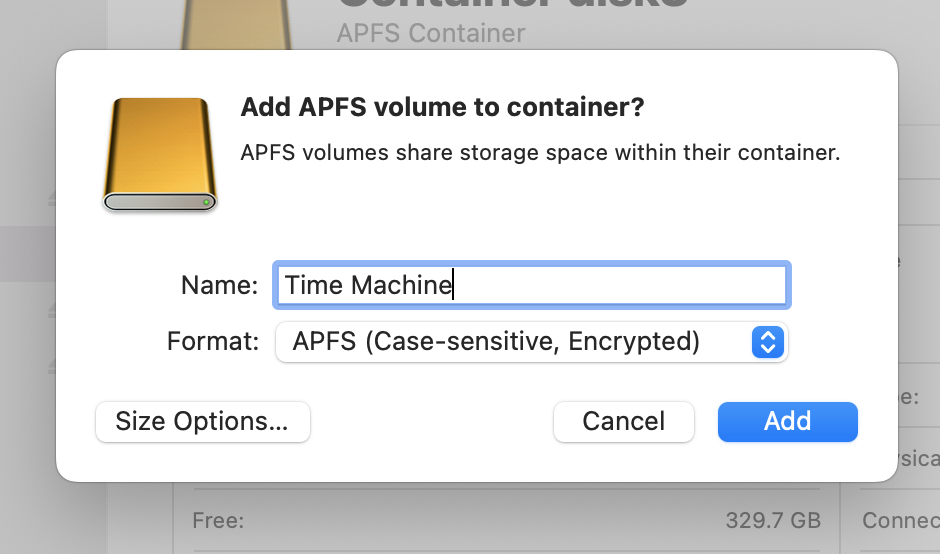
In the add volume dialog, enter the name you want for your Time Machine volume, eg “Time Machine”. Select the volume format, for example “APFS, (Case-sensitive, Encrypted)” (which means that file names are case sensitive and the volume will be encrypted, requiring a password to access its contents):
Enter a password when prompted:
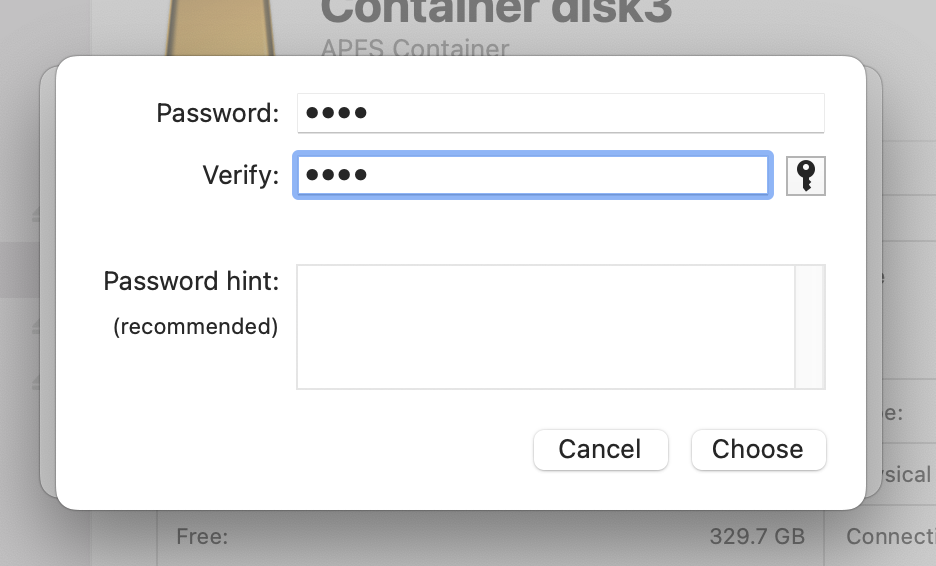
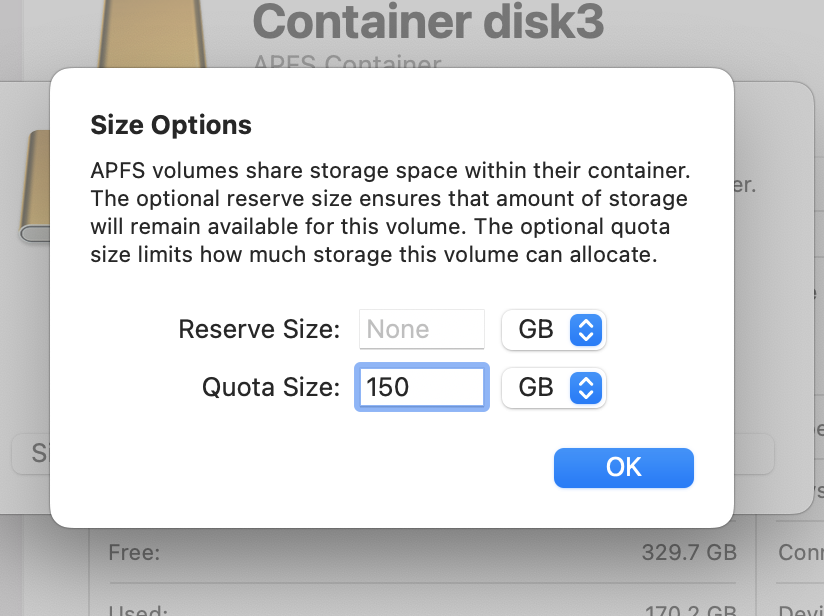
Click “Choose” to save and then click “Size Options…”:
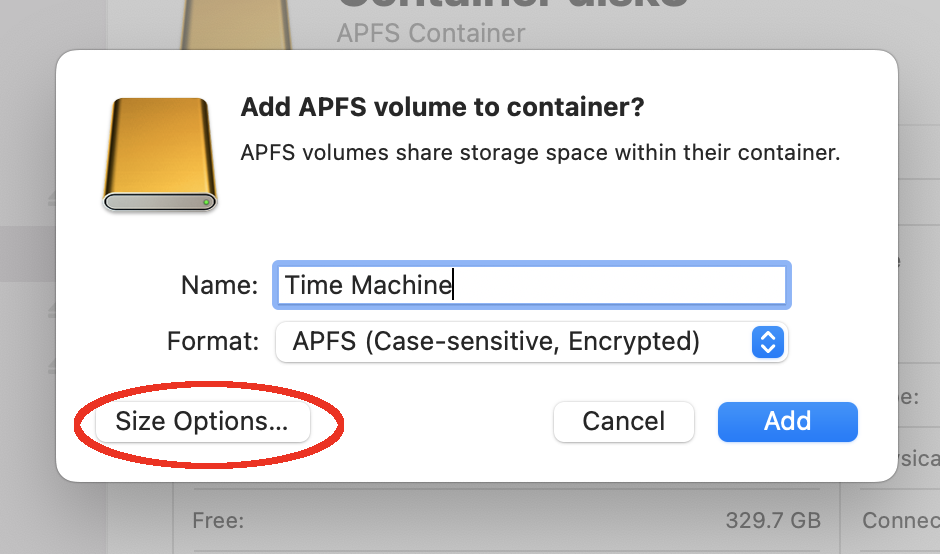
You can make the new volume a fixed size using the “Reserve Size” option and you can use the “Quota Size” to allow the disk to start at zero bytes (or the size you set in “Reserve Size”) and expand to no more than the amount you select:
Click “OK” and then “Add” and the new volume should appear:
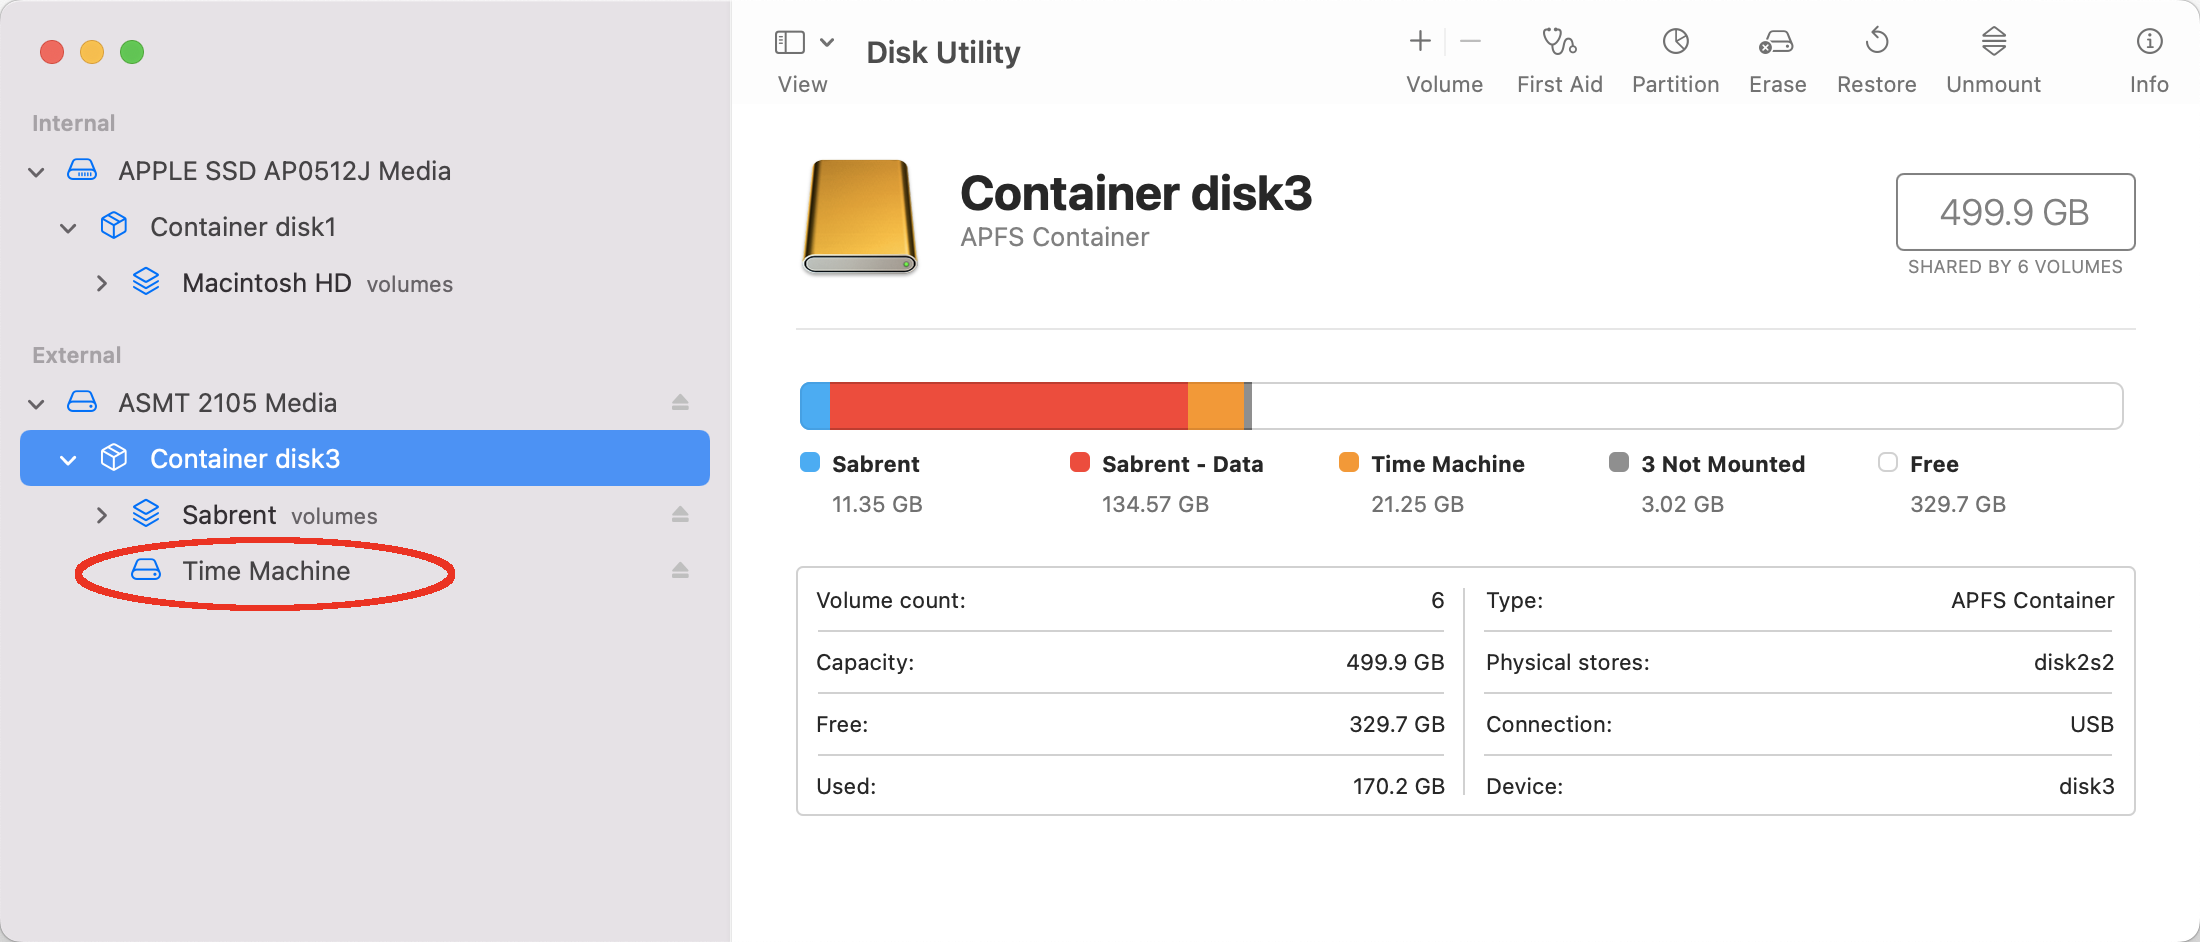
Select the newly created volume and note the “Device” ID number:
Convert the Volume to a Time Machine Volume
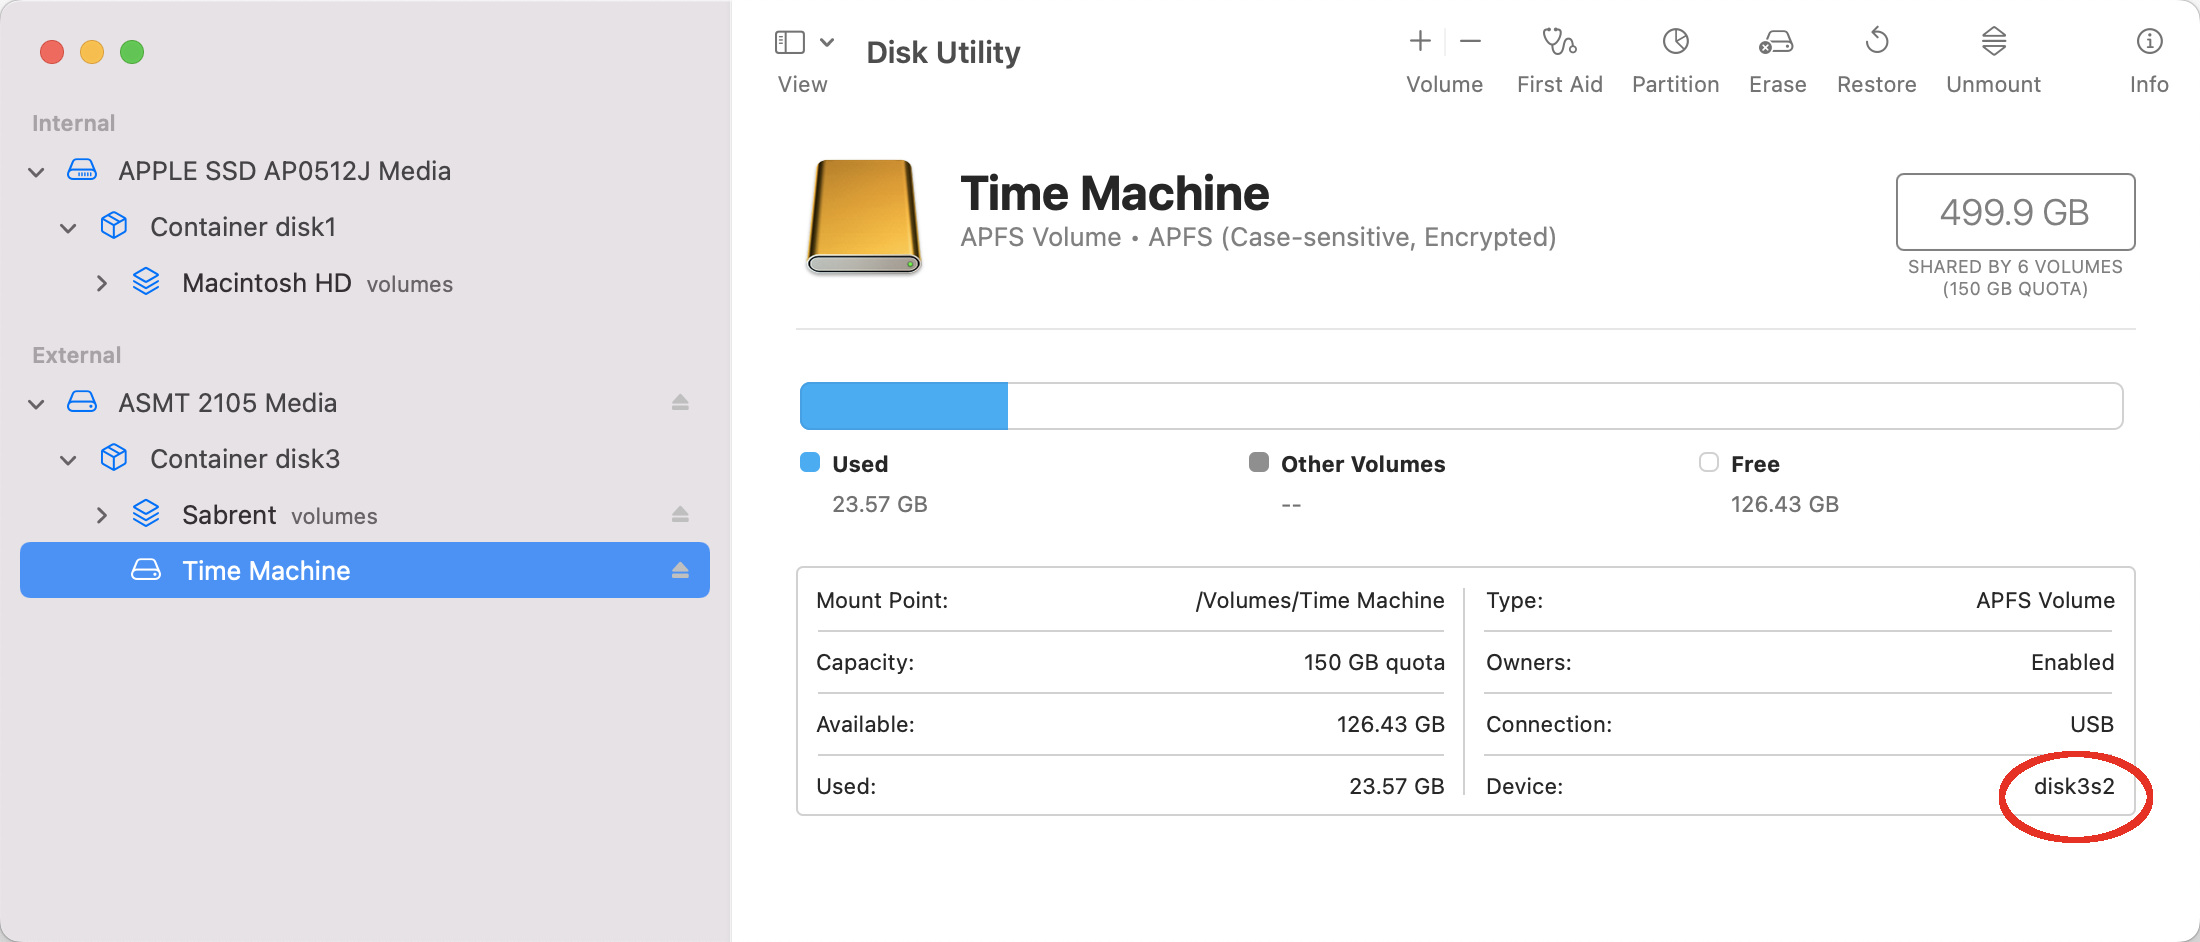
Now open a Terminal window (Applications > Utilities > Terminal) and enter the following command, substituting “disk3s2” with the Device ID of your new volume:
diskutil apfs chrole disk3s2 T
And then press the “return” key. This command makes the Disk Utility app change the volume to be a Time Machine volume.
Return to the Disk Utility app and reselect the new volume, it should now have a Time Machine icon:
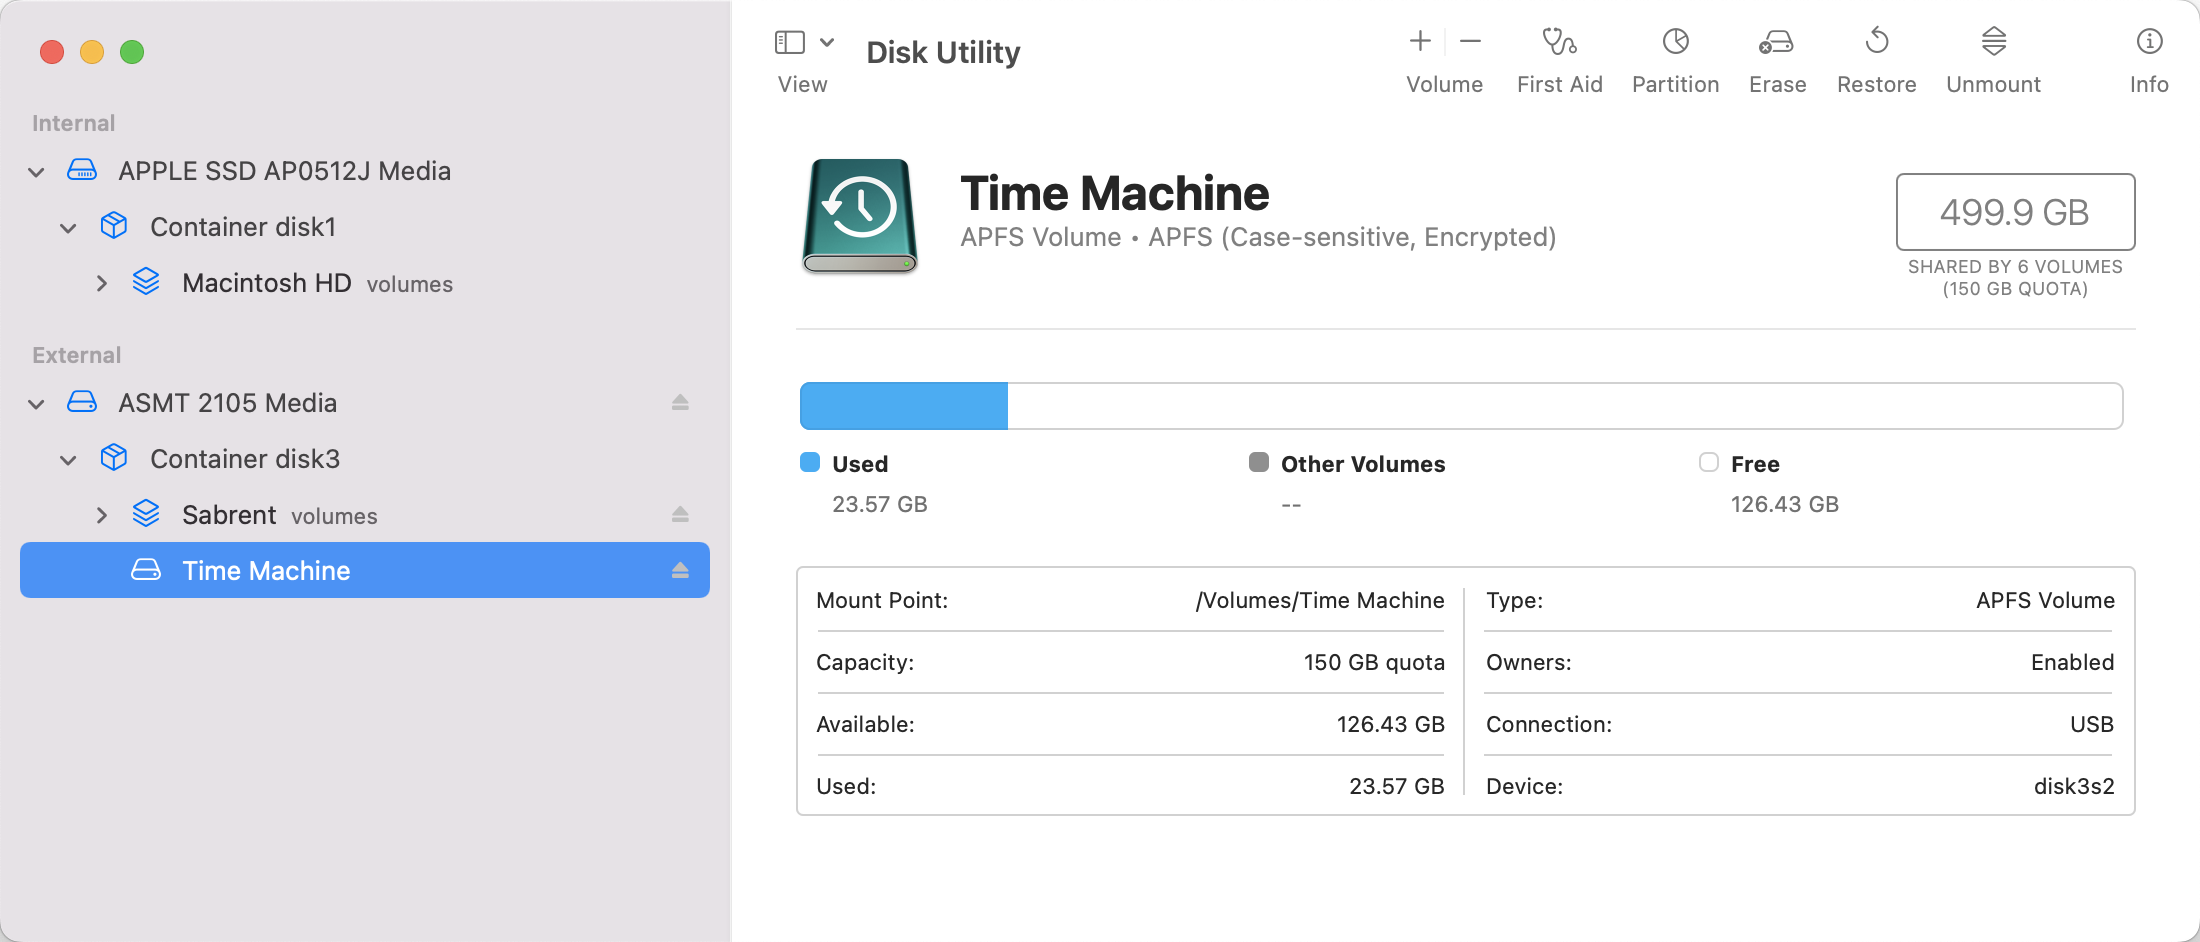
A dialog should appear asking if you want to set up the new volume for Time Machine. You may have to unmount the volume and remount it, and/or launch Time Machine in order the this step to occur.
Set the New Volume as the Time Machine Target
After Time Machine has prepared the volume, it should automatically be selected as the destination for backups, if not then you should be able to select the new volume by clicking the “Select Disk…” button:
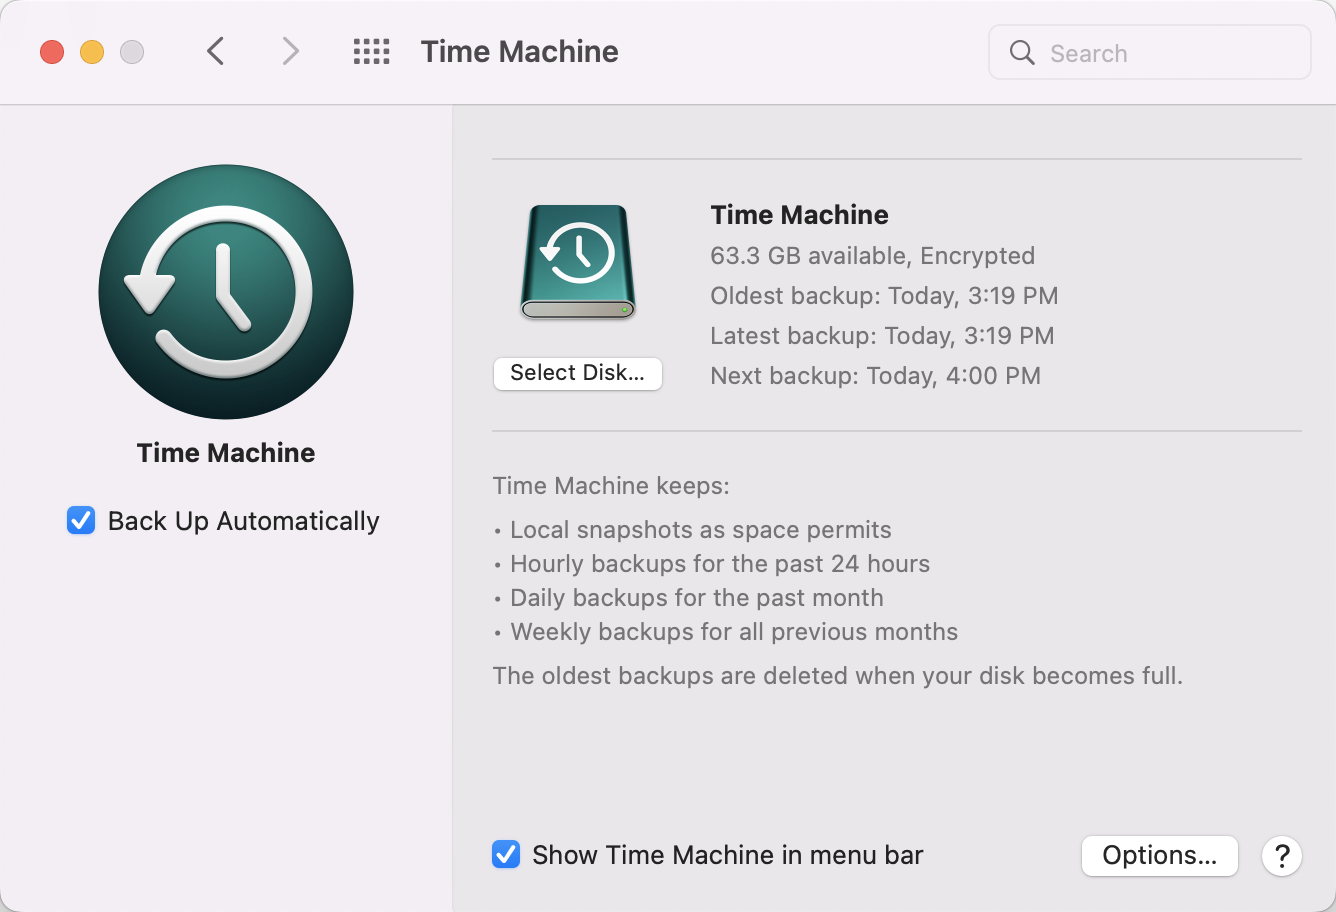
You should now be able to customize your backups to only save the files you want using the “Options…” button.