FlashForge Finder 3D Printer Tips and Tricks
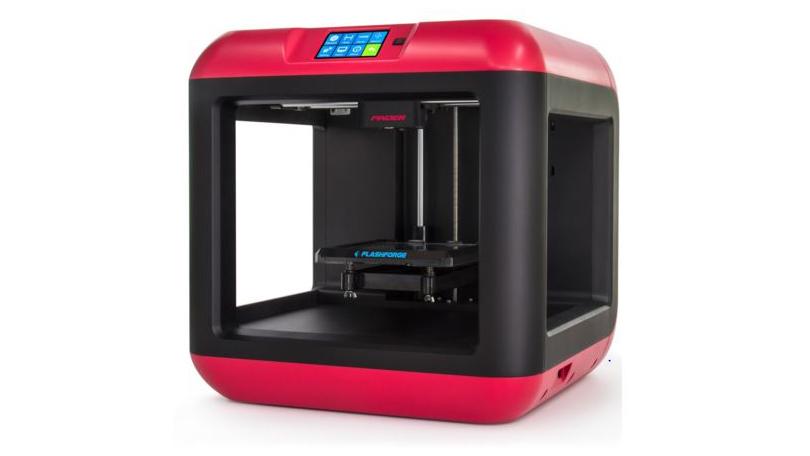
The FlashForge Finder is a great 3D printer for someone new to 3D printing thanks to its color touch screen display and FlashPrint software which makes it trivial to print a design downloaded from the internet (or one you create on your desktop using something like Sketchup). You can connect to it via USB or WiFi so it does not even have to be next to your computer.
Despite the fact that it does not have a heated bed, I have been able to successfully print filaments other than PLA such as PETG and flexible filament. However, like many people I have struggled to get prints to stick and have tried blue tape, glue stick and some combination. Both work, but have to be replaced after every few prints, especially glue stick which after a couple of applications will make the print bed gummy and uneven.
PEI Print Bed Build Material
Instead of the blue tape and glue sticks, I have had reasonable success with the self adhesive PEI (Polyetherimide) sheets from GizmoDorks stuck to the Finder’s glass print bed. PEI sheets have a very smooth glossy finish and are fairly durable. Normally PEI is used with heated beds, but if you gently sand it with 600 grit sand paper or wet & dry paper until it has lost its shine and then wipe it clean with some isopropyl alcohol it will work on an unheated bed. Cleaning the PEI with isopropyl alcohol after every few prints maintains it “gripability”.
Printing with PETG
When printing from FlashPrint set the extruder temperature to 240°F, print with a brim and the filament should adhere to the PEI build sheet.
Cover with a Plastic Bag
While the Finder does have a cube shaped frame, it is not enclosed. Find a transparent plastic bag that can cover the printer – this will keep dust off the printer when not in use, but will also help prevent draughts across the print bed that can cause warping and the prints to lift.
Thanks so much. I’ve thought about enclosing mine for while now but never thought of trying a bag.